Resources
Color Matching
Color matching is the process of setting up the colors in your art so that they print a specific color based on the printer that is being used.
Color matching is typically reserved for brand identities or when one product is being printed to match an existing colored product.
Please follow the below steps for color matching with Super Sign Mart.
Follow These Steps
1. Color Chart
You will first need to order a color chart here: www.supersignmart.com/color-chart/
2. Match Color
Compare your existing item to the chart and find the closest color value.

3. Apply Color
Once you find the color that matches, apply the RGB values listed on the color chart to your art.

Note: Though we work hard to maintain color consistency, we do not guarantee an exact match. We do not offer in house color matching.
Setting up clean cut lines streamlines the process of getting your art from ordered to production. Follow these simple steps below to set up cutlines quickly and easily.
What makes a good cutline:
- Proper Margin
- Clean/Smooth Lines
- Minimal Control Points
- Proper Distance Between Control Points
Quick Reference

1. Set Art Size
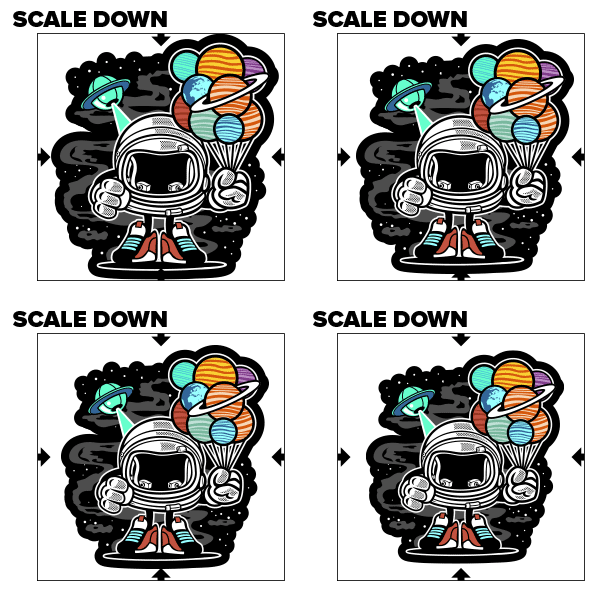
Set up your art smaller than its finished size. Depending on the product, we recommend a different margin between the cut and the art. Follow the below scaling guide for best results.
Smaller by:
1" (Corrugated Plastic) | 0.25" (Magnetic) | 0.125" (Decal)

2. Make a New Layer: “Cuts”
Create new layer in your art program and name it "Cuts" or "Cut Layer". (The name is just to clarify what the layer is for, it does not have to be specific).
3. Start Creating the Cut Path
![]() For Vector Art: Duplicate your art to the cut layer and then merge the duplicated art together. (Note: You should expand all text and strokes before merging your art.)
For Vector Art: Duplicate your art to the cut layer and then merge the duplicated art together. (Note: You should expand all text and strokes before merging your art.)
![]() For Raster Art: Draw a vector line around the edge of your art. (Note: You do not have to be exact when drawing this line as it will just be a starting point for the next step.)
For Raster Art: Draw a vector line around the edge of your art. (Note: You do not have to be exact when drawing this line as it will just be a starting point for the next step.)


4. Add Outer Stroke
Add an outer rounded stroke to your cut path. After setting your stroke, expand the stroke and delete any excess to leave just the outer most part.
NOTE: Depending on the product, we recommend a different margin between the cut and the art. Follow the below scaling guide for best results.
Stroke Weight
1" (72pt) - Corrugated Plastic | 0.50" (36pt) - Magnetic | 0.25" (18pt) - Decal

5. Inset Stroke
Now inset your stroke, rounded. (Note: Depending on your software, you may need to remove the outer stroke from step-4 at this point.)
Inset Weight
0.50" (36pt) - Corrugated Plastic | 0.25" (18pt) - Magnetic | 0.125" (9pt) - Decal

6. Final Touch
You should now have a clean stroke around your artwork with an even margin that will cut well. Depending on your art, it may be beneficial to smooth or simplify the cutline to make a cleaner appearance or finish. Depending on the product, you should also add your bleed at this point as well.

Double Sided
If your art is 2 Sided (Double Sided) (eg. Corrugated Plastic Signs), you will need to make sure the cut line aligns for both sides.
- Simply Duplicate your cutline onto your back file.
- After duplicating the cut-line, flip the cut-line horizontally & make sure everything is lined up. If it is lined up, you are good to go, if not, you need to adjust your artwork to fit the cutline.
Summary
Bad Cutline
- No Margin
- Control Point Clusters
- Too Many Control Points
- Tight Notches (eg. Between Feet)

Good Cutline
- Proper White Margin
- Minimal Control Points
- Smooth Curves
- No Tight Notches


